In search of the perfect loaf of sourdough bread

Category: Free Inquiry

This is the category to apply to your Free Inquiry posts.

Tips for Helping Your Sourdough Rise

Sourdough bread that has risen nicely and is nice and fluffy

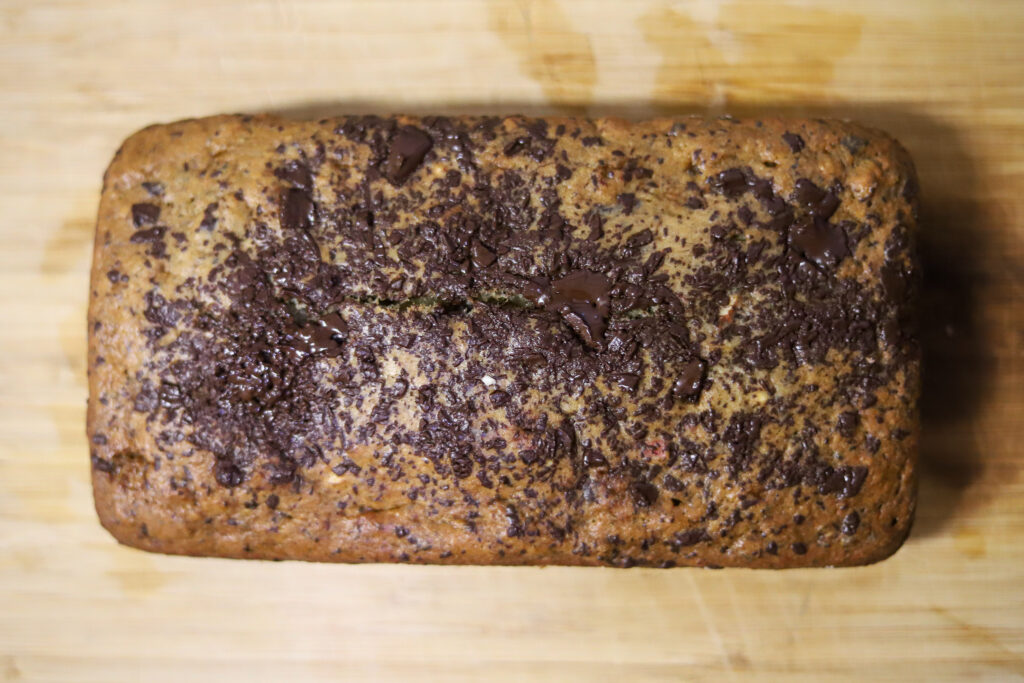
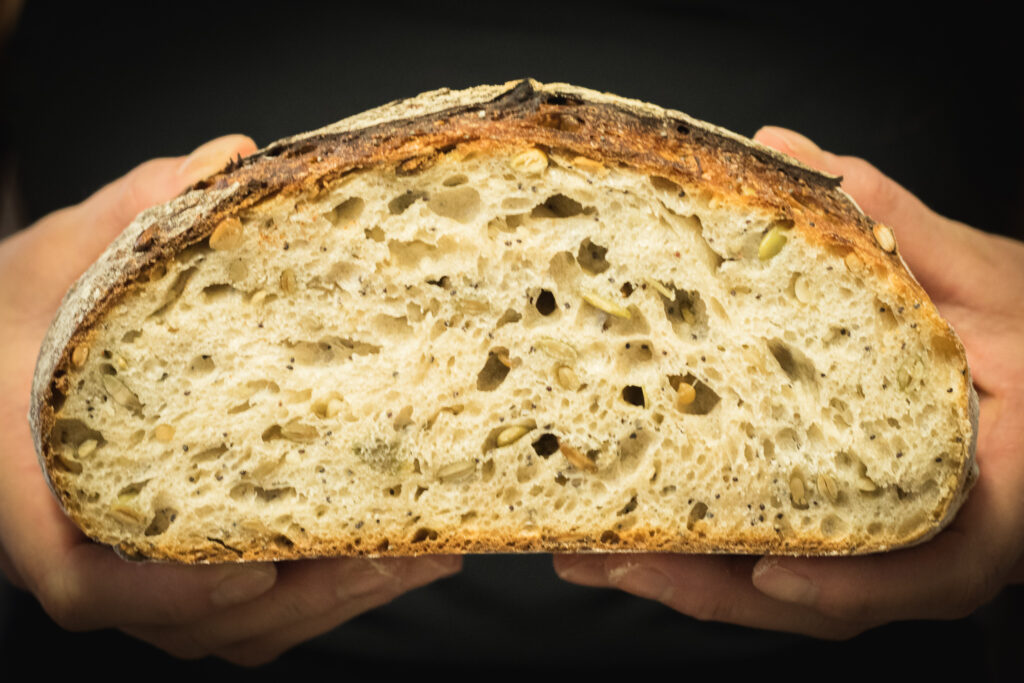
When I first started making sourdough, I would often end up with a loaf of bread that more closely resembled a brick than a loaf of bread and it took a long time and lots of trial and error to finally get a nice fluffy loaf every time. In this blog post, I hope to impart a few tips I have learned that can help you in your own sourdough adventures.

Rising Time

Something that’s easy to overlook is the amount of time it will take for your bread to rise and there are many variables that can impact how fast or slowly it does so. During the course of this sourdough inquiry into the perfect loaf of sourdough bread, it has been cold outside. As a result of this and the poor insulation in my apartment, my sourdough takes time to rise and sometimes even if I give lots of time to rise — 10 hours or more — it still doesn’t rise well. In spite of this, I have discovered a few solutions.
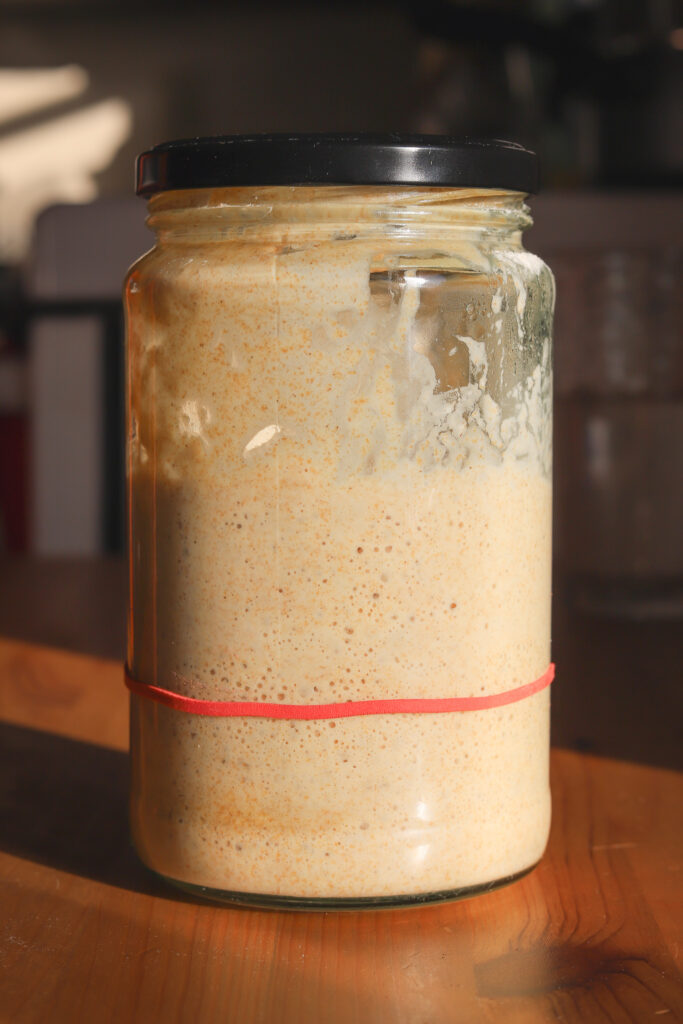
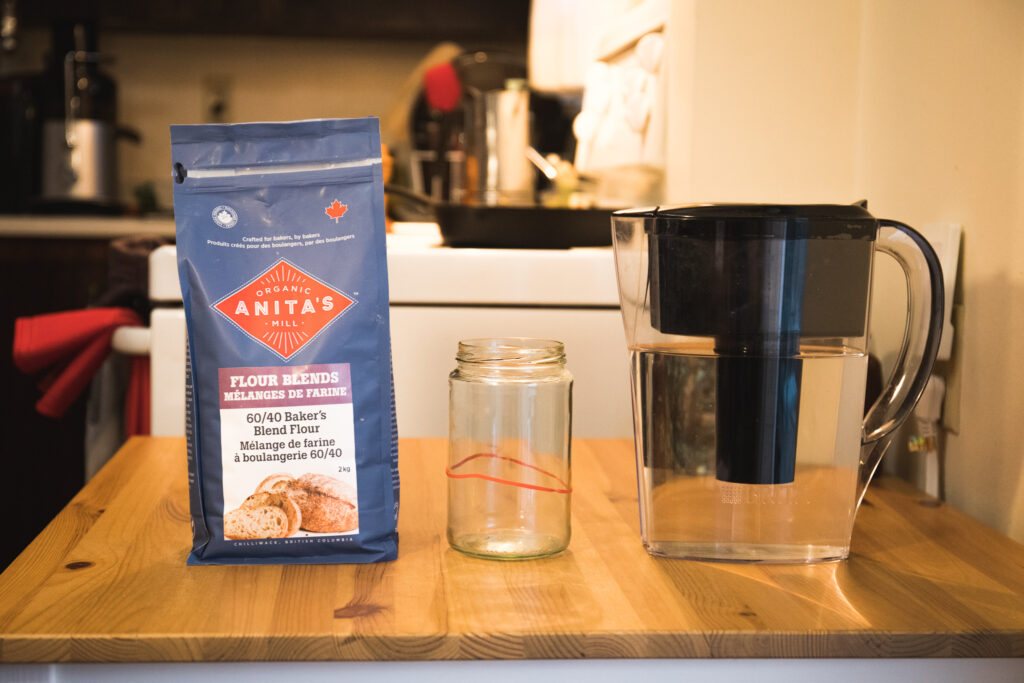
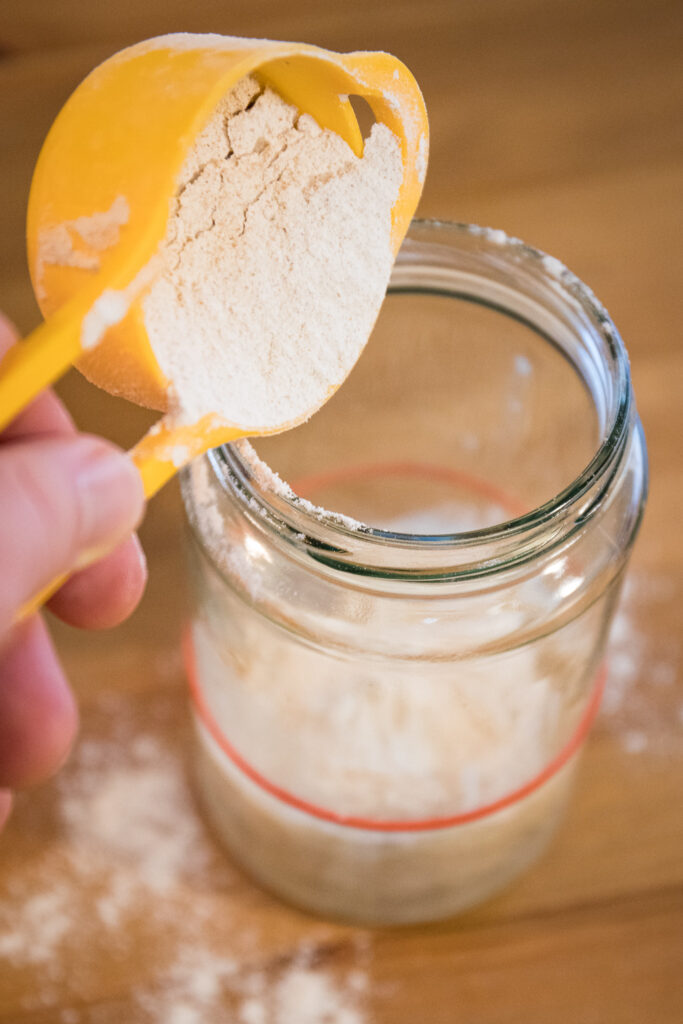
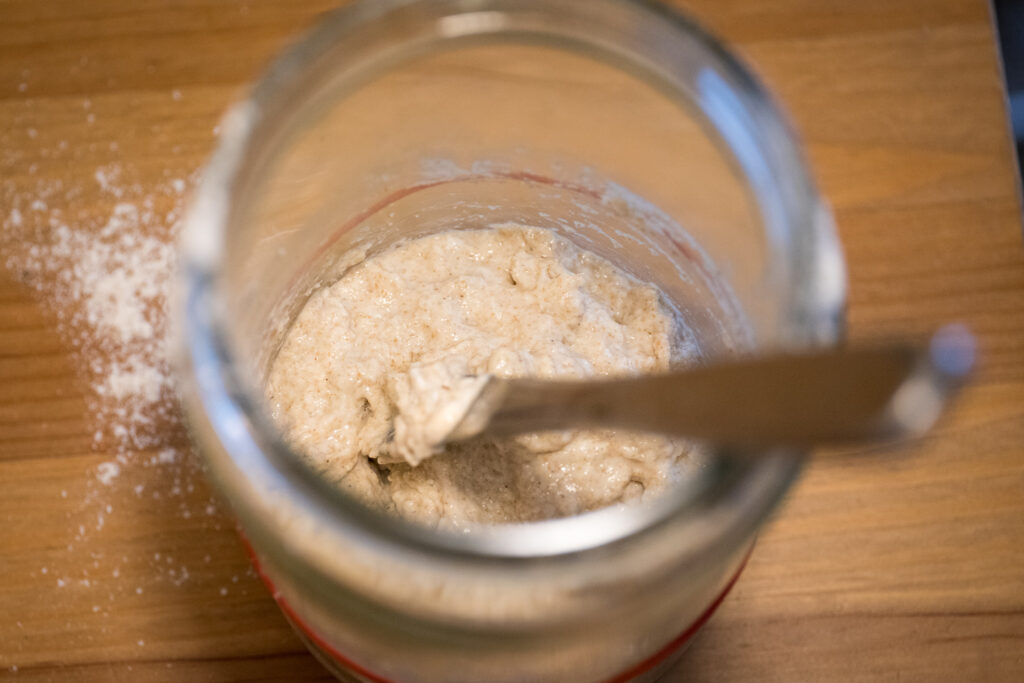
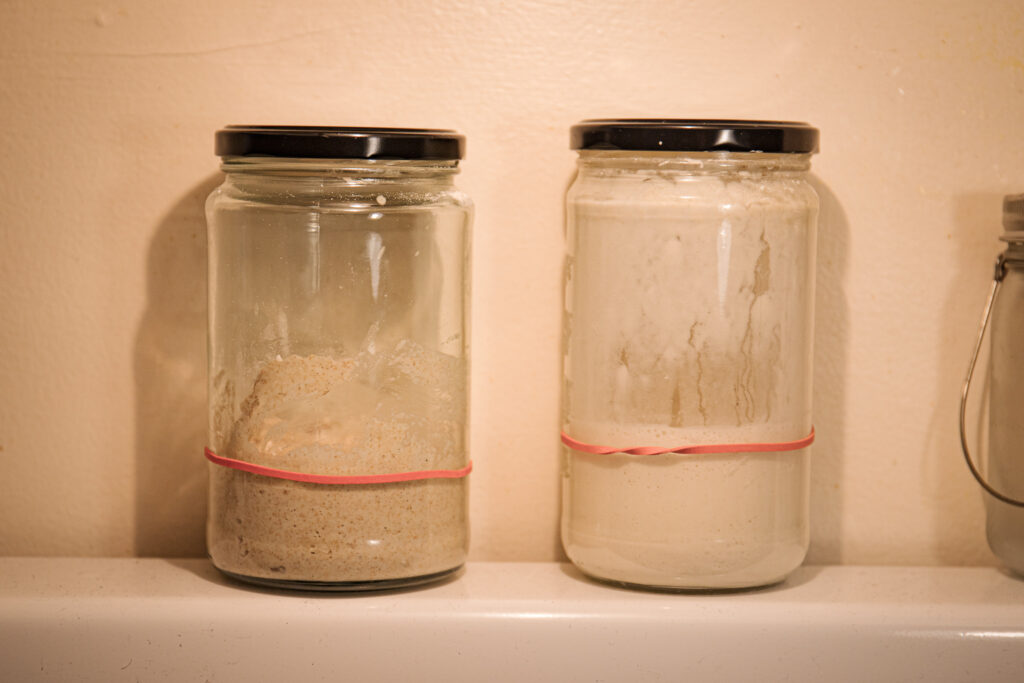
Extra Starter

bubbly sourdough starter and elastic to measure growth.

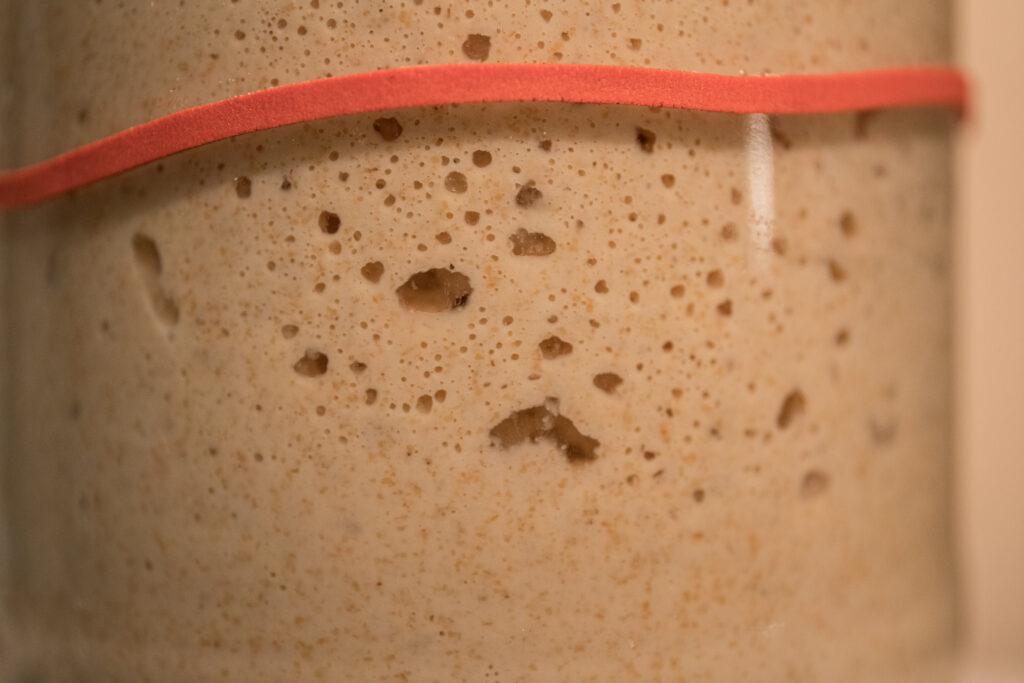
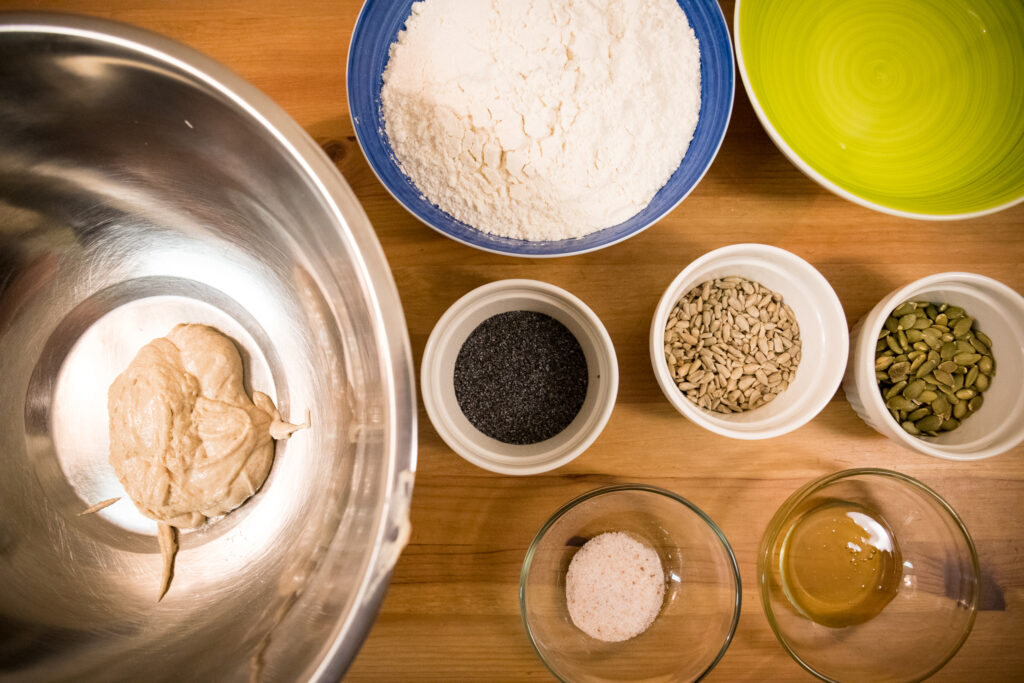
Another trick I use when my apartment is cool and I know it will affect the proofing of my sourdough is to add extra starter when making the dough. The recipe I introduced a few posts ago — my go-to recipe — calls for 100 grams of starter. I use 130 grams or more depending on how cold the space the sourdough is rising in.

Warm Water

Full Steam Ahead | The Flickr Lounge-Sound My kettle makes a… | Flickr

Heat is a catalyst and when baking sourdough bread, it does wonders to speed up the rising time of a loaf. Though I haven’t tried hot water as I’m afraid it will kill the bacteria we rely on for it to rise, I often use water around 60 degrees Celsius.

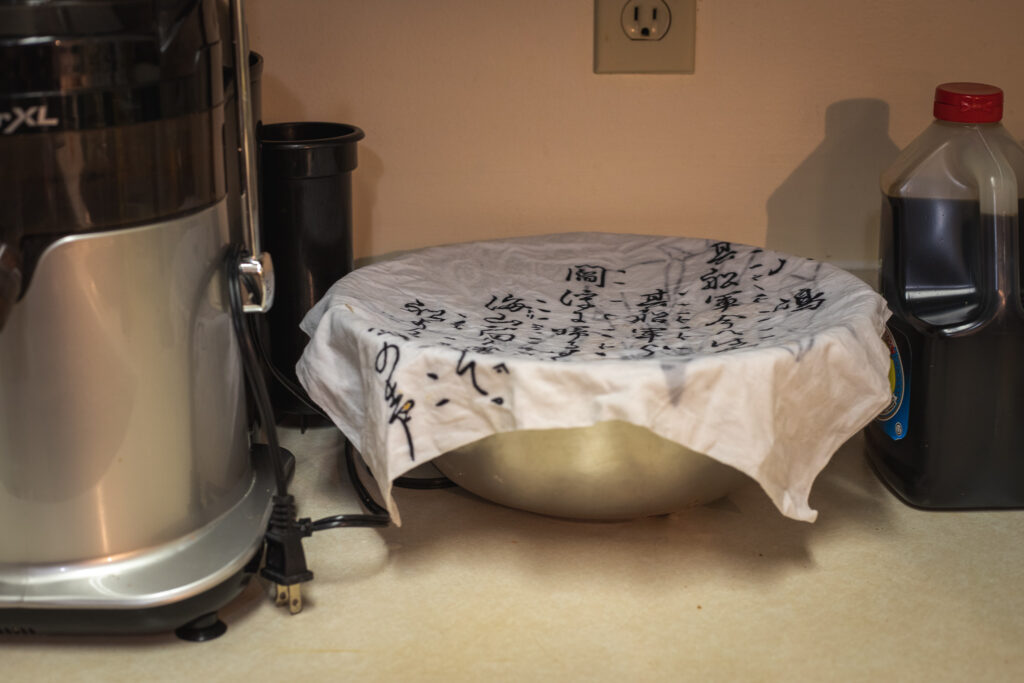
Using a Damp Towel or Cloth

Sourdough loaf rising with damp towel covering it while it rises.

While you let the loaf proof, it’s important that you don’t let the outside of the dough dry out. This will greatly impact how it rises and will hold impede the spring — when it rises in the oven. To avoid this, I find a damp towel or cloth over top of the loaf keeps the outside of the dough hydrated so it keeps rising. If the room it’s rising in is cold, because of wicking, the cloth will be cool too. Keeping the cloth warm can help.

Notes/Extra Reading

Even if you use these tips to help your sourdough bread along, make sure the dough rises properly before you bake it, regardless of how long it takes.

For more info on how to improve how your sourdough rises, the following is quite helpful — True Sourdough

Banana Bread (made with sourdough starter)

This week I made a loaf of super tasty, fluffy, and moist banana bread using sourdough starter. The recipe is rather simple and has been adapted from a Japanese recipe. This version of the recipe follows five simple steps.

Banana bread with dark chocolate and almonds

Recipe

1 banana (105-120g)

Brown sugar (105g)

Vanilla extract (1 teaspoon)

1 egg

Sourdough starter (50g)

Flour (125g)

Baking soda (1/2 teaspoon)

Butter (62.5g)

Milk (30g)

The Process

Before you start mixing your ingredients together, set the oven to 350 °F.

Step One

The initial ingredients; banana, brown sugar, and vanilla.

Mix the banana, brown sugar and vanilla extract in a bowl until they are a well-combined consistency.

Step Two

Mixing an egg into the batter

Mix the egg into the batter.

Step Three

adding sourdough starter to the batter

Add the sourdough starter and mix it in well.

Step Four

Mix the flour, baking soda and salt into the batter

Step Five

Banana bread batter with dark chocolare and almonds

At this step, the butter and milk are added to the mixture. Once the batter is consistent, feel free to add any extras you wish. I added dark chocolate and crushed almonds.

Getting it Ready for the Oven

Pouring the patter in the baking tray
I chose to make this into a loaf and used a baking tray that I oiled and floured to avoid sticking.

Baking Instructions

Put in the preheated oven for 30-35 minutes at 350 °F. To check your banana bread, put a skewer in the middle of the loaf. If there is batter sticking to the skewer then it’s not quite ready yet. If there is no batter sticking to the skewer, it’s ready to come out of the oven and cool down.

Notes

I love this recipe because it’s super easy to make and absolutely delicious. The butter can be substituted with olive oil and the milk with oat milk (this is how I usually make it). I hope you enjoy it!

A Brief History of Sourdough Bread

Although sourdough is enjoyed around the world in the many ways it gets baked–whether it’s bread, pancakes, muffins or any number of baked goods–its humble beginnings go back further than you might imagine. Around 3000 BCE on the banks of the Nile river in Ancient Egypt, wheat and other grains were cultivated to provide for the growing populations. It was at this time that the first loaves of sourdough bread were enjoyed. There are many depictions of bread and the process of bread-making in Egyptian hieroglyphs, sculptures, and other artifacts. Archeologists found ovens where sourdough bread was made and even discovered yeast cultures the ancient Egyptians used to leaven their bread.

What was life like for the ancient Egyptians? - BBC Bitesize
A sculpture of an Egyptian woman making flour. Photo from BBC
Roman Army Bread | Carole Raddato | Flickr

With strong trade throughout the Mediterranean sea, it didn’t take long for sourdough bread and the process of bread making to make its way out of Egypt. The Greeks imported whole wheat from Egypt and Sicily and in a short period of time completely revolutionized the technology and equipment for making sourdough bread was made and it quickly became a staple of the Greek diet. It continued to become more and more prominent in different cultures as food for daily consumption and was eventually adopted by the Roman military. Interestingly, many of the first bakers in Rome were freed slaves who took up the occupation of professional bakers and began forming their own guilds. As Rome expanded its territories and moved further into northern Europe, they brought sourdough bread with them.

Though bread became less prominent during the barbarian invasion because of the lack of access to flour, the secrets were held in the monasteries and began to reemerge in the 12th century with the rise of the baking profession in France. Eventually, barm–ale yeast–became a popular replacement for sourdough because of how much easier it was to use in the bread-making process. Making sourdough bread is a very time-consuming process and technologies–alternative yeast supplements–changed how bread was made. In the 19th century compressed yeast–bakers yeast–almost completely replaced sourdough starter for leavening bread because it was so much easier and less time-consuming.

Introduction to North America

What's That Bug in My Sourdough? - Cal@170 by the California State Library

During the gold rush in California, sourdough was introduced in San Francisco around 1849 and eventually made its way to Alaska and western Canada. It was popular with the miners because they often lived in drab conditions that tended to work in favour of sourdough bread and because sourdough tends to be more nutritious than bread made with bakers yeast–it was probably also due to access.

Hammes, W.P., Gänzle, M.G. (1998). Sourdough breads and related products. In: Wood, B.J.B. (eds) Microbiology of Fermented Foods. Springer, Boston, MA.

Catzeddu, P. (2011). Chapter 4 – Sourdough Breads. In Flour and Breads and their Fortification in Health and Disease Prevention (pp. 37–46). Elsevier Inc. https://doi.org/10.1016/B978-0-12-380886-8.10004-2

My go-to sourdough loaf

holding sourdough bread

Today I will be taking you through the process of making my go-to loaf of sourdough bread. Though the process is long, it’s totally worth it if you like soft tasty bread with a crunchy crust!

Ingredients

the ingredients for this sourdough recipe

Sourdough starter — 100 grams

Water — 240 grams

Salt — 10 grams

Honey — 30 grams

Flour — 400 grams

OPTIONAL — add any seeds/dried fruits you would like.

Note: If you wish to add dried fruits to your bread, you may need to use more water because the dried fruits will rehydrate and use the water required for the bread to rise.

Mixing the ingredients

This is the process I go through when I mix all the ingredients together.

I mix the starter, water, salt, and honey together before adding the flour and seeds because I want the starter to be evenly spread through the dough. This will help ensure an even rise in the dough. Once all the ingredients are mixed together and the dough is shaggy, let it sit for 15 minutes. Then stretch and fold the bread every hour for 2 more hours — three folds in total.

Folding the bread

When you fold the bread, make sure you are folding it on the same side and folding it toward the center of the bread. If you’re unsure, the video to the right is a good demonstration.

Letting it rise

Before the bread is ready to go into the oven it needs to rise. I usually leave my bread to rise overnight in a metal bowl with a damp cloth over top of it to stop it from drying out. It only needs about 3 hours to rise, so you do not have to leave it overnight, this is just a part of my process.

Before the bread goes in the oven

Dutch oven without a lid in the oven

Before the bread goes in the oven, you need to preheat the oven to 500 degrees Fahrenheit, put a Dutch oven in to heat up, and put a glass dish with water to keep moisture in the air. This helps form a nice crisp crust without burning it.

sourdough before going into the oven

Score the bread before putting it in the Dutch oven, and in the oven itself. This will also help it as it rises.

Baking

There are two phases to baking this bread.

dutch oven in the oven

In the first phase, the loaf is in the dutch oven with the lid on it baking at 500 degrees Fahrenheit for 15 minutes

Loaf of sourdough entering the second phase

In the second phase, the lid comes off the Dutch oven and the temperature is lowered to 450 degrees Fahrenheit for 35 minutes.

There you have it!

The finished loaf of sourdough

I hope you found this tutorial helpful. Up until now, this is my favourite loaf of sourdough to make, but I have a few new recipes I’m excited to try in the weeks to come!!!

The Starter (Pt. 2)

Welcome back for week two of the search for the perfect loaf of sourdough bread in which I will focus on how to maintaining a healthy culture of starter.

I have been training the starter from last week’s post and it is now consistently doubling when I feed it — which I have been doing every day at the same time.

Once you have a healthy culture of starter, there are different options for storage depending on how often you plan on making bread. If you plan on making bread a few times a week, you can store it in a cool dry place. If you will be making one or fewer loaves a week, you can store it in the fridge.

Storing in the fridge

This is a great option if you don’t plan on using your starter much. When you put it in the fridge, it will ferment slower and should be fine without feeding for a week or two just fine. When you plan on making bread, take out the starter of the fridge and feed it making sure you give it time to warm up and rise. The starter should also be fed before going back into the fridge to make sure there is enough food for it while you don’t use it — though it should be fine without as well.

Storing in a cool dry place

If you plan on using the starter often, storing your starter in a cool dry place is a great option. If you do this it’s important to feed your starter every day at the same time if possible. Feeding it at the same time will help with the consistency of its rising and falling — it’s a good idea to time your feedings in a way that is consistent with when you start making bread.

When is the starter is ready to use?

It usually takes between 3-8 hours for the starter to peak before it starts running out of food (flour) and begins to fall. With this said, some recipes don’t require active starter and you can use it straight out of the fridge.

Next week I will show you my current “go-to” sourdough recipe before exploring some others I am excited to try for the first time — and I think they’ll be pretty awesome!!!

References

Gane, T. (2022, October 31). How to store Sourdough starter. Southern Living. Retrieved February 2, 2023, from https://www.southernliving.com/food/bread/how-to-store-sourdough-starter#:~:text=Sourdough%20starter%20can%20be%20stored,the%20refrigerator%2C%22%20Pellegrinelli%20explains.

Robertson, C. (2010). Tartine bread. Chronicle Books.

The Pantry Mama. (2023, January 4). How to store sourdough starter in the fridge. The Pantry Mama. Retrieved February 2, 2023, from https://www.pantrymama.com/how-to-store-sourdough-starter-in-the-fridge/#:~:text=Your%20starter%20will%20survive%20for,ready%20to%20use%20it%20again.

Making the Starter

Ingredients for making sourdough starter
Before you can make good sourdough bread you need a healthy culture of sourdough starter. Sourdough starter is basically a culture of wild yeast that you train.

The three things you need to make your starter are; flour (I will be using blended flour consisting of both white and wholewheat flour, but you can use white flour), water, and a container for your starter.

putting flour in the jar for making starter
In my container, I put about a half cup of warm water and began adding my blended flour.

It’s important that your container is clean and dry before you begin because you are growing wild yeast which is a bacteria. If your starter is contaminated, it will start growing mould and your starter will be no good.

sourdough starter after mixing
Add flour and mix until the starter is the consistency of thick pancake batter.
two sour doughstarters. one is a whole wheat flour and white flour mix and the other is just white flour.
When the starter is the right consistency, cover the top — though I am using a lid (resting on top, not sealed) you can use a kitchen towel — and put it somewhere in the shade.

At this point, the wild yeast culture needs to grow. If successful, this starter should bubble and double in size somewhere between 2 to 3 days from now. I will check back with you then and let you know how it is doing. There is always the possibility the starter has become contaminated as well…time will tell and I will bring you along for the process 🙂

© 2024 Dough Boy

Theme by Anders NorenUp ↑